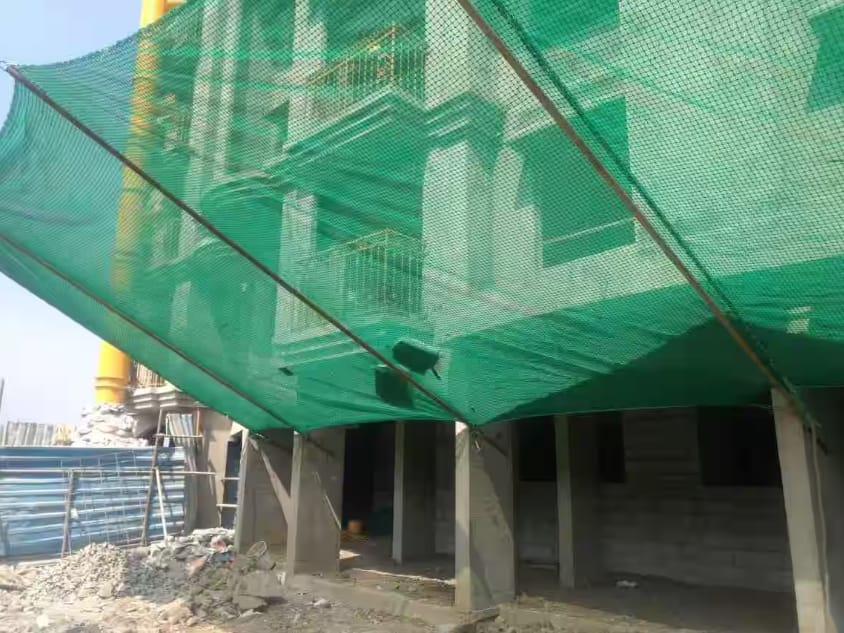
Ensuring safety in construction sites, sports facilities, and various other environments is paramount. One effective method to enhance safety is the installation of safety netting. This guide provides a comprehensive, step-by-step approach to installing safety netting, ensuring optimal protection and compliance with safety standards.
1. Assess the Area and Requirements
Before installing safety netting, it’s crucial to assess the area where it will be used. Determine the specific requirements based on the environment, whether it’s a construction site, sports facility, or any other location. Consider factors such as the height, width, and potential hazards in the area. This initial assessment will guide you in choosing the appropriate type and size of safety netting.
2. Choose the Right Safety Netting
Selecting the right type of safety netting is essential for effective protection. There are various types of netting available, each designed for different purposes. For construction sites, durable and high-tensile netting is recommended to catch falling debris and protect workers. For sports facilities, softer, more flexible netting may be suitable to prevent injuries.
3. Gather Necessary Tools and Equipment
To install safety netting, you’ll need specific tools and equipment. Common items include anchor points, hooks, tensioners, and securing ropes. Ensure you have all necessary tools before starting the installation process. Additionally, wearing personal protective equipment (PPE) such as gloves, helmets, and safety harnesses is vital for your safety during installation.
4. Install Anchor Points
Anchor points are critical for securely fastening the safety netting. These points should be strong and stable, capable of supporting the weight and tension of the netting. Install anchor points at strategic locations, ensuring they are evenly spaced and securely fixed. For construction sites, anchor points may be attached to scaffolding, beams, or other sturdy structures. In sports facilities, they might be fixed to walls or poles.
5. Attach and Secure the Netting
Once the anchor points are in place, begin attaching the safety netting. Start from one end and work your way across, ensuring the netting is evenly stretched and free of slack. Use hooks and tensioners to secure the netting firmly to the anchor points. Ensure that the netting is taut and covers the designated area adequately.
Installing safety netting involves careful planning, the right materials, and precise execution. By following this step-by-step guide, you can ensure that your safety netting is installed correctly, providing maximum protection for people and property. Regular maintenance and inspections are also crucial to maintain the effectiveness of the netting over time.

